#**Lab 29: Apache Spark using Oshinko Rest on Openshift**
Lets take the Apache Spark big data cluster projects for a test drive on openShift - as documented in the http://radanalytics.io/ website.
The example `Ophicleide Word2vec` application is a cloud native application that provides users with an easy path to train
and query Word2vec models from their web browser - https://ophicleide.github.io/
`Word2vec` is a group of related models that are used to produce word embeddings. These models are shallow, two-layer
neural networks that are trained to reconstruct linguistic contexts of words - https://en.wikipedia.org/wiki/Word2vec
The application loads text from the given URL's, creates Word2vec models from the text, and allows you to query for synonyms for any given
word.
**Prerequisites**
* A working OpenShift 3.3+ environment you have `cluster-admin` and `developer` based access
I'm using an __"oc cluster up"__ single node based environment with OCP 3.3
**Step 1: Configure Openshift to use Oshinko Rest UI**
The oshiko rest based user interface forms a `tech preview` feature in OpenShift that allows you to easily provision Apache Spark clusters
to any project/namespace.
To enable the UI, take the following steps.
// go to your openshift configuration directory
cd /root/openshift.local.config/master
// git clone the oshinko console repo
git clone https://github.com/radanalyticsio/oshinko-console
// edit your master config file and add in the oshinko console tech preview pieces
vi /root/openshift.local.config/master-config.yaml
...
extensionScripts:
- oshinko-console/dist/scripts/templates.js
- oshinko-console/dist/scripts/scripts.js
extensionStylesheets:
- oshinko-console/dist/styles/oshinko.css
...
// restart openshift
oc cluster down; oc cluster up --host-config-dir=/root/openshift.local.config
When you login to openshift, you should now be able to see the `Spark Cluster` button on the left hand side.
**Step 2: Create an Apache Spark Cluster using Oshinko Console**
Create a project as developer user:
oc new-project oshinko --description="Oshinko Apache Spark Cluster" --display-name="Oshinko Apache Spark Cluster"
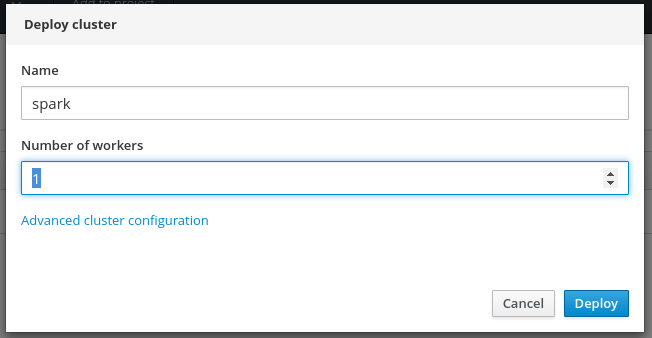
Select the `Spark Cluster` button, and select `Deploy` to create an apache spark cluster. Create as many Apache Spark workers as you want (one
is enough to run the demo)
You will see depoloyments automatically start once the images have been pulled for the `spark master` and `spark workers` containers.
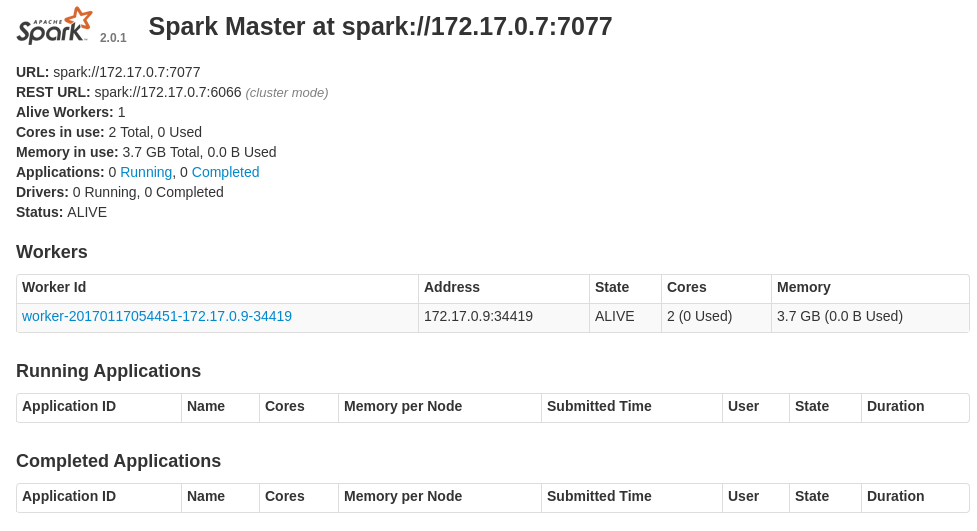
Expose the user interface for the spark master and browse to it:
oc expose svc spark-ui
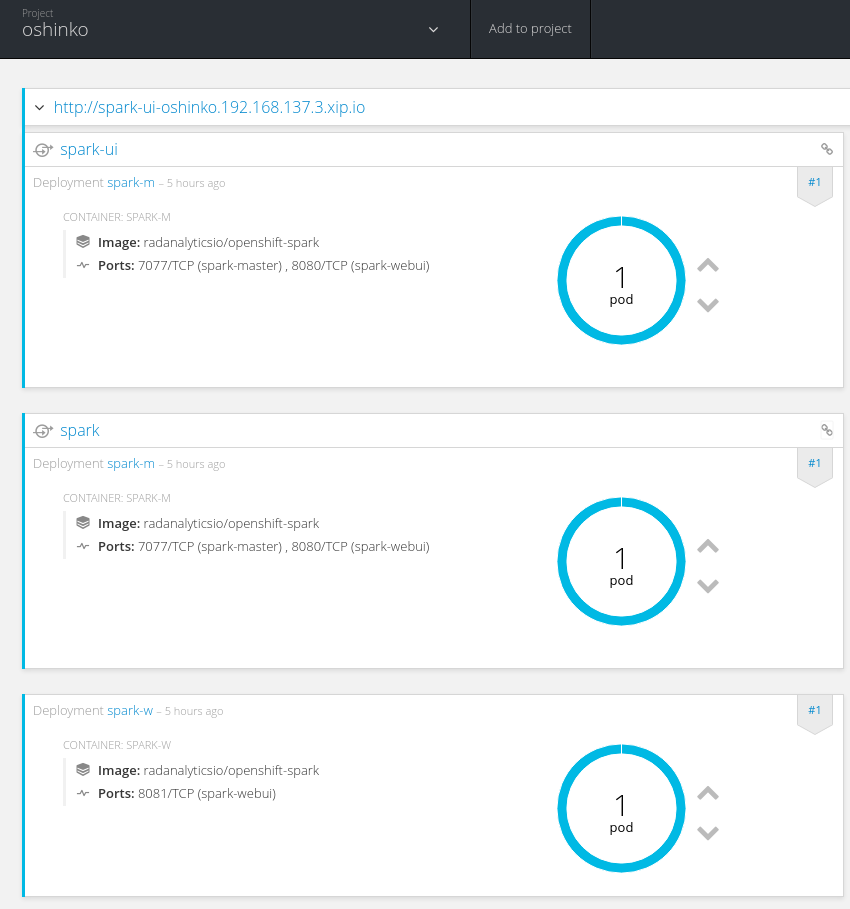
You should see these running containers with more worker replicas depending on the number you selected above:
**Step 3: Create the Ophicleide demo application**
The demo application connects to the Apache Spark master, so take note of its URI (we can use the kubernetes service name)
-- master URL
spark://spark.oshinko.svc.cluster.local:7077
Create an application project as developer user
oc new-project ophicleide --description="Ophicleide Word2vec" --display-name="Ophicleide Word2vec"
Create image streams and application template in this namesapce
oc create -f https://ophicleide.github.io/documentation/ophicleide-setup-list.yaml
The results of the trained models are stored in a mongo-db, create one now including a __ophicleide__ database (this uses a persistent volume)
oc new-app --template=mongodb-persistent -p DATABASE_SERVICE_NAME=mongodb,MONGODB_USER=user,MONGODB_PASSWORD=password,MONGODB_DATABASE=ophicleide,MONGODB_ADMIN_PASSWORD=password,VOLUME_CAPACITY=1Gi -l name=mongodb
Create the application using the template, passing in the `SPARK` master URI, `MONGO` db connection URL and a `WEB_ROUTE_HOSTNAME` as appropriate:
oc new-app --template=ophicleide -p SPARK="spark://spark.oshinko.svc.cluster.local:7077",MONGO="mongodb://user:password@mongodb/ophicleide",WEB_ROUTE_HOSTNAME="ophicleide.192.168.137.3.xip.io"
Start the builds for the model training containers and web user interface:
oc start-build ophicleide-training
oc start-build ophicleide-web
Once the builds complete successfully, you should see the following deployments and running pods completed:

**Step 4: Train some Word2vec models and query**
See the Ophicleide Word2vec site for a descriptions of training models https://ophicleide.github.io/. If you select the http://ophicleide.192.168.137.3.xip.io/#!/models
and click add model:
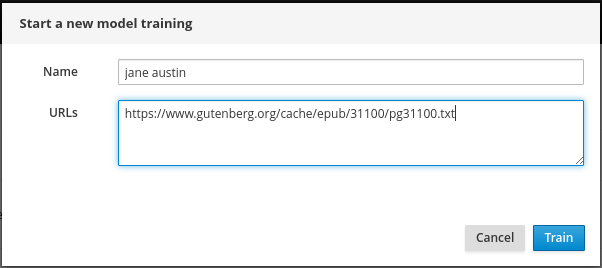
here are some URL's you can use to add in some online book text based examples:
-- The Complete Works of Jane Austen, by Jane Austen
https://www.gutenberg.org/cache/epub/31100/pg31100.txt
-- Dracula, by Bram Stoker
http://www.gutenberg.org/cache/epub/345/pg345.txt
-- Mr. Spaceship, by Philip K. Dick
http://www.gutenberg.org/cache/epub/32522/pg32522.txt
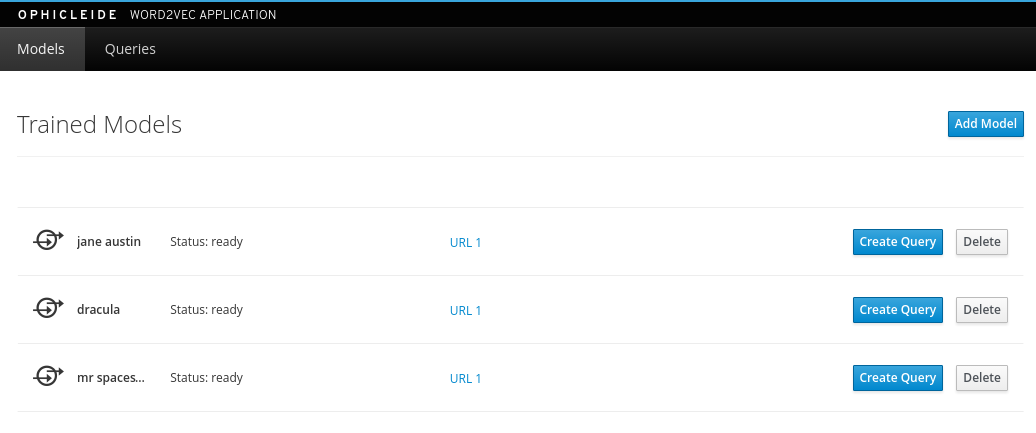
The `Status` should change from `running` to `ready` once the spark job has completed. You can see the training logs in the `ophicleide-training` container
that is part of the ophicleide pod as well as the running spark job in the apache master web-ui. Once complete, your models are now ready to query for
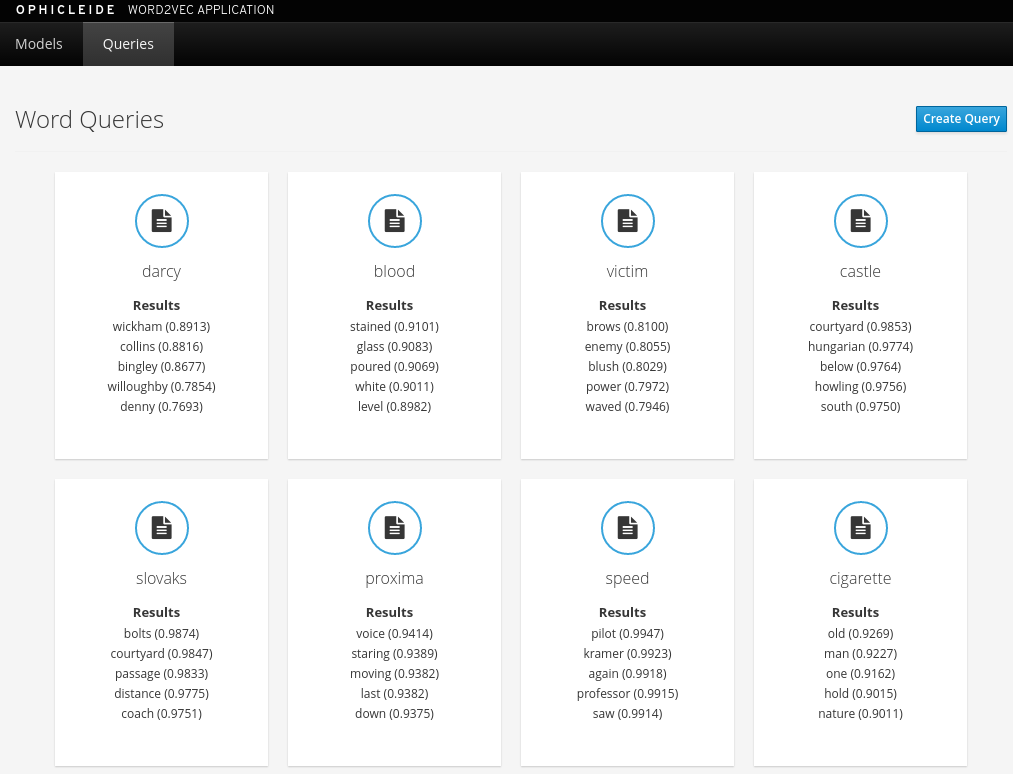
Create some queries using the `Create Qeury` button. Use the folowing words to see their embedded relationships and weightings. You can only query for words that were found during the training:
-- The Complete Works of Jane Austen, by Jane Austen
query: darcy
query: days
-- Dracula, by Bram Stoker
query: blood
query: castle
query: days
-- Mr. Spaceship, by Philip K. Dick
query: speed
query: proxima
query: days
You should see the results displayed:
If you want to login to the mongo-db to see which words were found for each model:
oc rsh oc rsh mongodb-1-h85jz
mongo -u admin -p password --authenticationDatabase admin
> use ophicleide
> show collections
models
queries
db.models.find( { "name" : "jane austin" } );
db.models.find( { "name" : "dracula" } );
db.models.find( { "name" : "mr spaceship" } );
##Summary##
Congratulations ! You have successfully:
* deployed Oshinko console and Apache spark cluster onto OpenShift
* demonstrated a big data application that trains models for performing Word2vec queries against online books